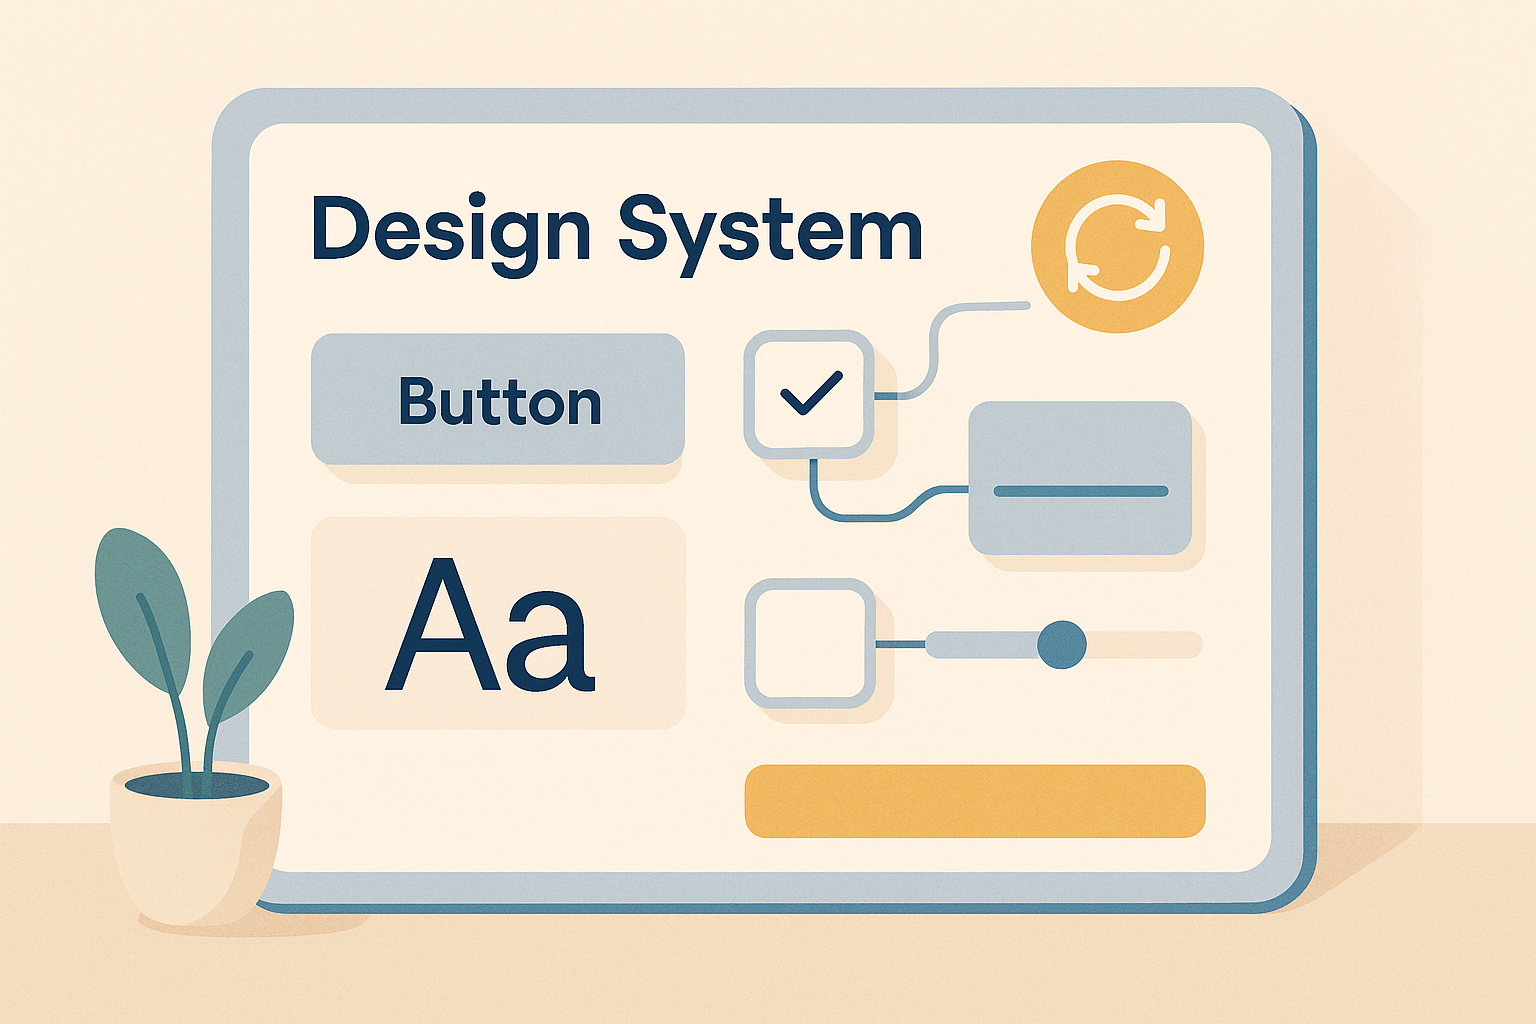
Best practices for design system updates
Best Practices for Updating Design Systems
Updating a design system can be complex, but it is essential to ensure consistent, high-performing interfaces that meet current needs. Here are the key steps to follow:
- Create a Dedicated Team: Include a system owner, lead designers, and reference developers.
- Establish Clear Rules: Document each change, assess its technical and visual impact, and validate the changes.
- Proceed in Stages: Test updates in an isolated environment, migrate gradually, and monitor performance.
- Automate Controls: Use tools to check visual consistency, code, and performance.
- Effectively Manage Versions: Adopt a semantic versioning system (major, minor, patch) and document each version.
- Maintain Detailed Records: Centralize information on changes, tests, and user feedback.
- Regularly Monitor: Schedule reviews to detect issues and adjust the system.
Quick Comparison of Update Methods
| Method | Advantages | Disadvantages |
|---|---|---|
| Manual | Total control, human validation | Time-consuming, risks of human errors |
| Automated | Fast, uniform, fewer errors | Technical complexity, initial costs |
By combining automation and human oversight, you can mitigate risks while improving the reliability and consistency of your design system.
Design System on Autopilot: From Design to Production
1. Establishing a Team for Design System Updates
To ensure consistent and well-managed updates, it is essential to set up a dedicated team with clear processes.
Key Roles in the Team
For effective operation, the team should include three main roles:
- A system owner to oversee all changes.
- Lead designers to assess visual and functional impact.
- Reference developers to validate technical feasibility.
Organized Decision-Making Process
A structured process is essential to avoid bottlenecks. Here is a recommended organization:
| Phase | Responsible | Key Actions |
|---|---|---|
| Proposal | Proposer | Write detailed documentation |
| Evaluation | Lead Designers | Analyze impact and consistency |
| Technical Review | Reference Developers | Verify technical feasibility |
| Final Approval | System Owner | Decide on deployment |
Communication Tools
For smooth collaboration, establish:
- Dedicated channels for different types of exchanges.
- Weekly meetings to track progress.
- A centralized system to document all decisions and actions.
Handling Disagreements
Adopt a three-step approach to resolve conflicts:
- Discussion among involved parties.
- Mediation by a neutral team member.
- Escalation to the system owner in case of persistent disagreement.
With a well-structured team and clear processes, design system updates can be carried out in a controlled and effective manner. Let's now move on to establishing precise update rules.
2. Establishing Clear Update Rules
Once the team is structured, it is crucial to define precise rules to guide each update. These rules should be documented and easily accessible to all team members.
Here is a three-phase process to structure each update:
| Phase | Objectives | Required Actions |
|---|---|---|
| Proposal | Document the change | Describe the change in detail, provide data-based justification, assess impact |
| Evaluation | Analyze technical feasibility | Conduct a technical review, check visual consistency, estimate required resources |
| Implementation | Deploy the change | Perform thorough tests, update documentation, inform relevant teams |
Criteria for Evaluating Changes
Each proposal should be evaluated based on well-defined criteria:
- Technical Impact: Analysis of complexity and dependencies.
- Visual Consistency: Alignment with existing design principles.
- Backward Compatibility: Study of effects on existing components.
- Required Resources: Estimation of time and skills needed.
Documentation of Changes
For each change, create a concise technical sheet. This should include a description, justification, affected components, implementation plan, and planned tests.
Validation Cycle
- Initial validation by the design team.
- Technical review by developers.
- Integration testing.
- Final approval by the system owner.
Once validated, you can proceed with the progressive implementation of components.
3. Updating Components Step by Step
Updating components gradually helps maintain system stability while reducing risks.
How to Proceed Step by Step
For each component, follow these four phases:
-
Development
Create a beta version in an isolated environment. This allows testing changes without affecting the main system. -
Testing
Conduct tests in different scenarios to identify potential issues or incompatibilities. -
Migration
Deploy the update to a small group or via a pilot project. This allows adjustments based on feedback. -
Deployment
Gradually apply the update to the entire system, while allowing for a short transition period.
Then, use control tools to ensure the system remains performant and reliable.
4. Implementing Automated Controls
Automation plays a key role in maintaining the consistency and quality of a design system. These automated controls support the update strategy mentioned earlier.
Tools for Automating Controls
Here are some types of controls that can be automated:
- Visual Consistency Verification: Conduct visual regression tests and validate design tokens.
- Code Control: Use static analysis and perform unit tests as well as dependency checks.
- Performance Monitoring: Measure loading time, monitor file size, and optimize resource usage.
Alert System
Set up an alert system to quickly detect:
- Deviation from defined standards
- Conflicts between components
- Compatibility issues
- Compilation errors
These alerts integrate directly into your continuous integration pipelines for effective management.
Automation with Continuous Integration
Continuous integration (CI/CD) allows you to simplify several tasks, including:
- Validating changes
- Deploying updates
- Automatically generating documentation
- Regression testing
By configuring CI/CD pipelines, you ensure that only changes compliant with standards are deployed.
Dashboard for Monitoring
| Metric | Alert Threshold | Monitoring Frequency |
|---|---|---|
| Loading Time | > 300 ms | Hourly |
| Error Rate | > 0.5 % | Daily |
| Test Coverage | < 85 % | With each commit |
| Browser Compatibility | < 98 % | Daily |
This dashboard provides an overview of performance and helps complement the update process.
sbb-itb-454261f
5. Using Logical Version Numbering
Version numbering helps track and communicate the evolution of a design system. It integrates seamlessly with the update processes mentioned earlier.
Semantic Versioning Convention
Semantic versioning (SemVer) is commonly used to structure design system versions. Here's how it works:
| Version Type | Format | Description of Changes |
|---|---|---|
| Major (X.0.0) | 2.0.0 | Changes incompatible with previous versions |
| Minor (0.X.0) | 1.2.0 | Addition of new features compatible with previous versions |
| Patch (0.0.X) | 1.1.2 | Bug fixes without impact on existing features |
Documentation of Changes
For each version, be sure to record the following information:
- Changes made
- Impacts on components
- Steps required for migration
- Affected dependencies
Management of Pre-release Versions
For versions in development, use explicit suffixes to clarify their status:
- alpha: initial version for internal testing
- beta: version for testing with a limited group of users
- rc (release candidate): version nearing finalization, ready for ultimate validation
Steps for Controlled Deployment
- First deploy the version to a test environment.
- Conduct real-world validation with a pilot group.
- Proceed with gradual deployment to limit risks.
- Prepare a transition phase for smooth adoption.
This approach ensures optimal stability while facilitating the integration of new versions.
Tools for Managing Versions
Rely on specialized tools to:
- Track versions and their evolution
- Automatically generate changelogs
- Manage dependencies between components
- Identify potential incompatibilities
These tools simplify version management and enhance system reliability.
6. Maintaining Detailed Update Records
In addition to rules and automated tracking, precise documentation of changes helps maintain system stability. Record each change to ensure consistent management and better long-term control.
What to Document
Include in your records:
- Technical changes
- Effects on user experience (UX)
- Document updates
- Test results
- User feedback
How to Structure Your Records
Once the elements to document are identified, organize your records into clear categories. Here's an example:
| Category | Elements to Include | Update Frequency |
|---|---|---|
| Technical Changes | Code modifications, adjustments | With each change |
| Documentation | Guides, tutorials, examples | With each new version |
| Tests | Results, detected issues | After each testing phase |
| User Feedback | Comments, suggestions | Ongoing |
Recommended Tools for Documentation
Opt for collaborative tools that allow versioning, quick search, easy sharing, and export in standard formats.
Tips for Effective Documentation
- Adopt a consistent format for all your documents.
- Centralize all information in one place.
- Automate data collection as much as possible.
- Ensure that access to records is simple and quick.
Change Tracking
Establish a system that traces the origin of each change, identifies responsible parties, describes the context, and details the impacts.
Well-maintained records simplify future developments and ensure sustainable management of your system.
7. Regularly Checking the System Status
Schedule frequent reviews to ensure that your design system remains performant and continues to meet user expectations. Organize feedback sessions to collect precise feedback, quickly detect issues, and resolve them. This complements automated tracking and existing documentation, helping maintain constant responsiveness.
Comparison of Update Methods
Updating a design system can be done in different ways, each with its own strengths and weaknesses.
| Method | Advantages | Disadvantages |
|---|---|---|
| Manual Method | • Total control over each modification • Human validation at each step • Flexibility in execution |
• Time-consuming • Risks of human errors • Slower process |
| Automated Method | • Quick execution • Ensured uniformity • Fewer potential errors |
• Technical setup complexity • High initial costs • Requires regular monitoring |
A distributed approach, combined with automated updates, allows teams to manage their own components more flexibly. However, this requires rigorous coordination to maintain overall consistency. These different options provide a clear basis for choosing the method best suited to your needs.